📱
Take Over From Your Phone
Step away for a meeting, commute, or break while you still send messages, check progress, and confirm next steps.

Let the computer keep working while your phone sends messages, checks status, and approves sensitive steps.
Step away for a meeting, commute, or break while you still send messages, check progress, and confirm next steps.
Sessions still run on your machine. The phone is the controller, not a required cloud workspace.
Send phone screenshots or photos into the remote session, then zoom or save images that come back in replies.
Browse remote folders, preview supported files, and download only the files you actually need on the phone.
Use the default Cloudflare Tunnel, or bring ngrok or Tailscale when your network calls for it.
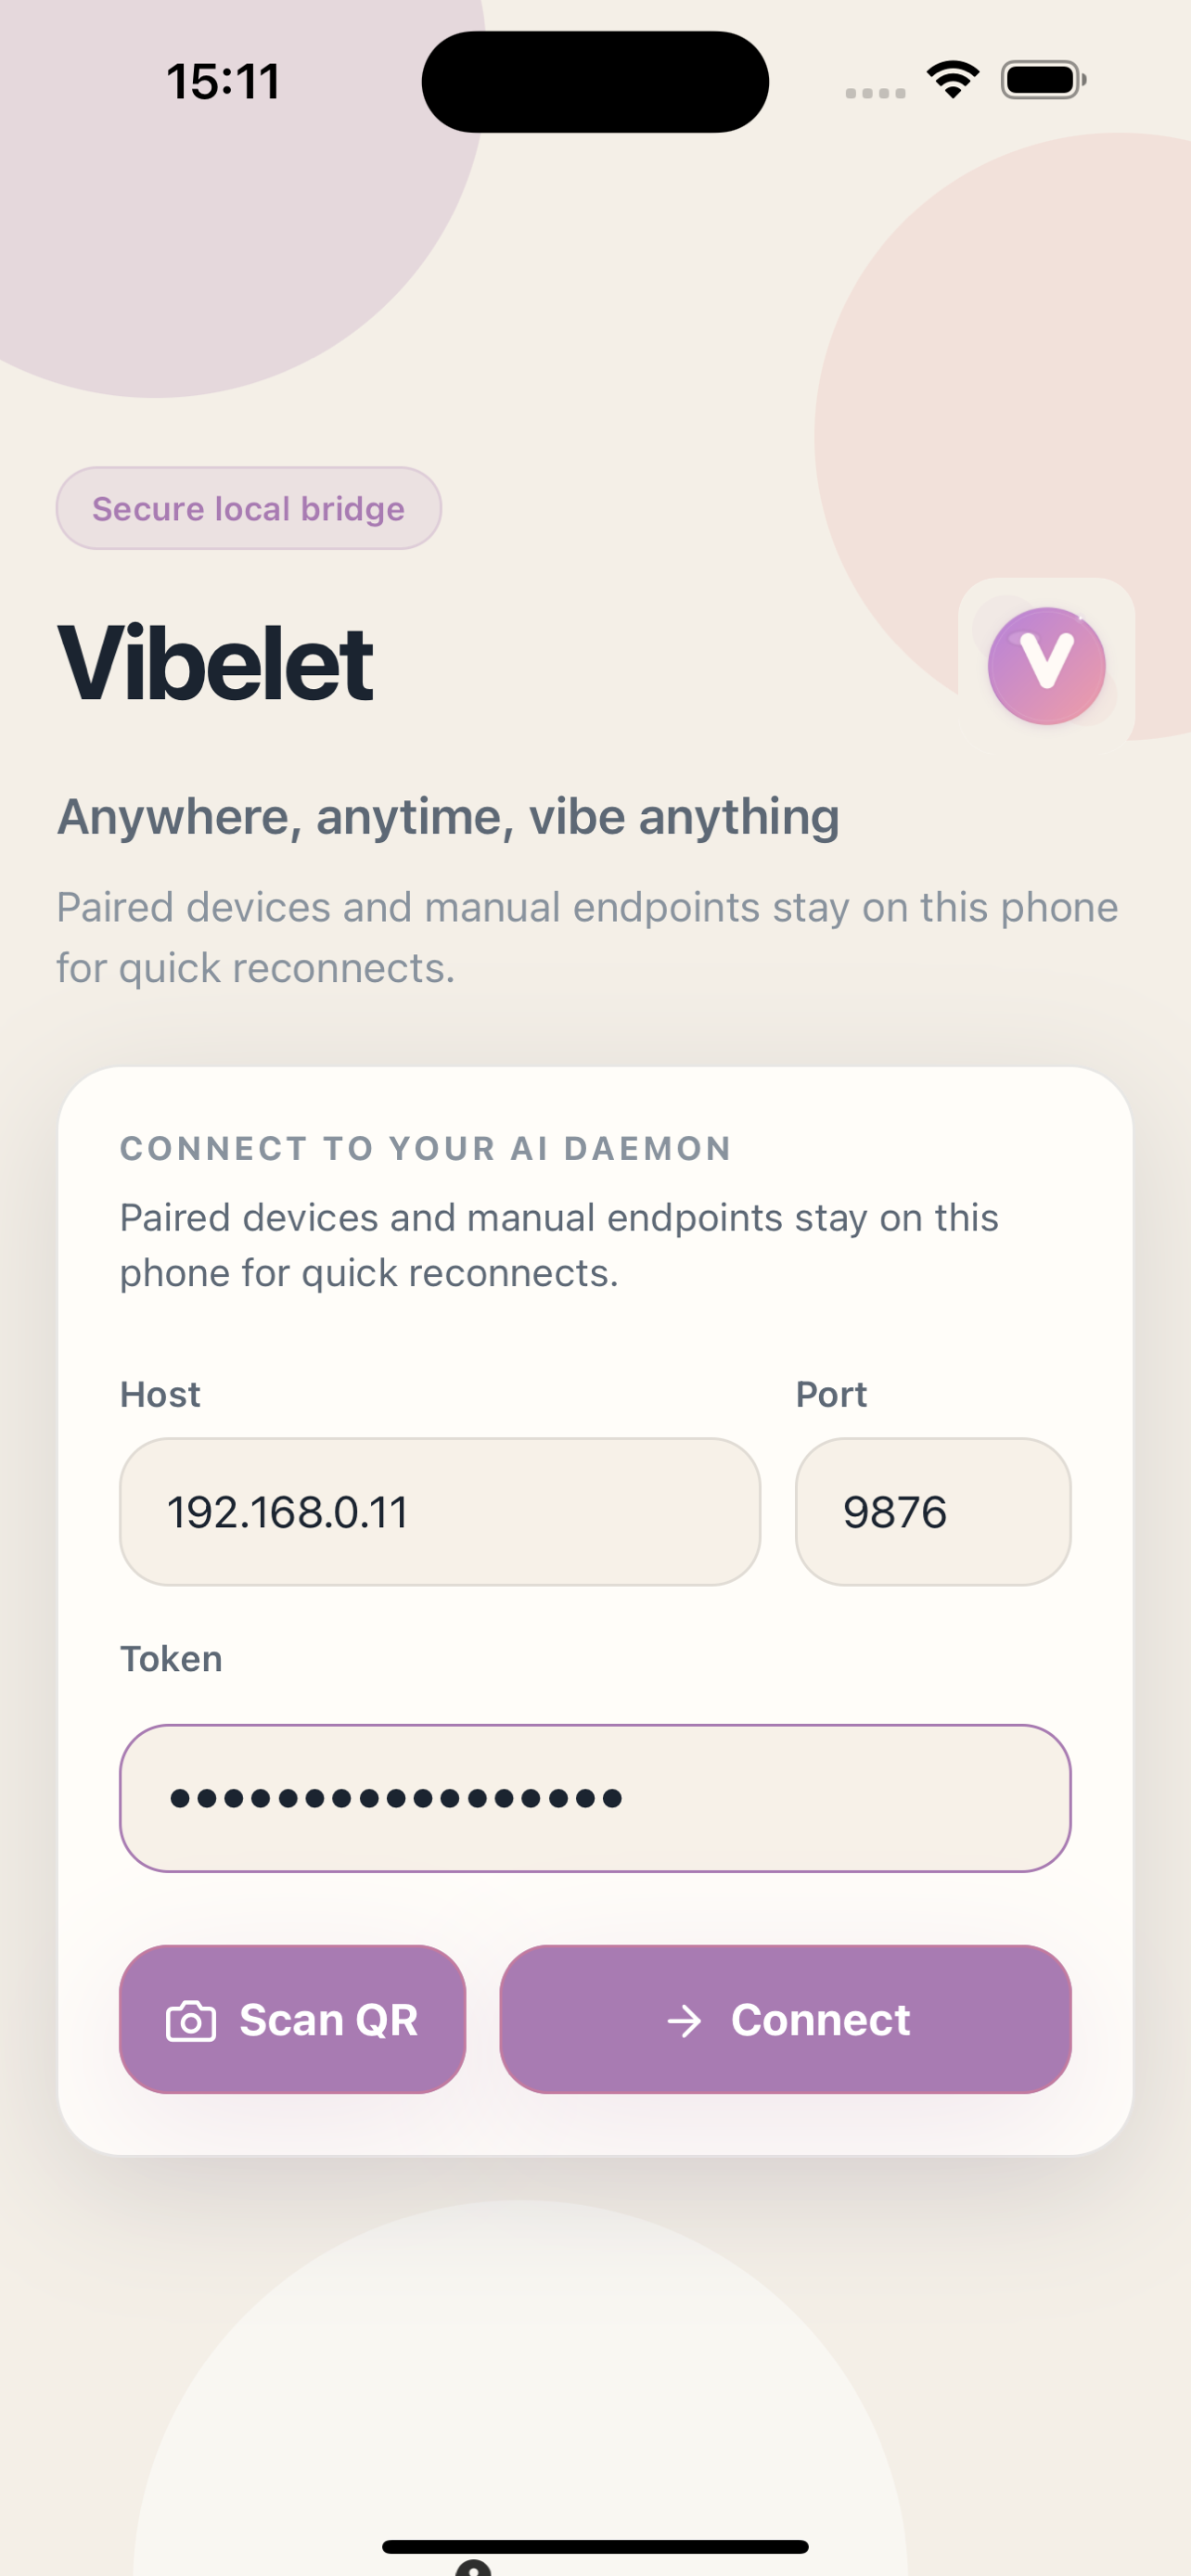
Scan one QR code to connect. Use --access=local only when you want LAN-only pairing.
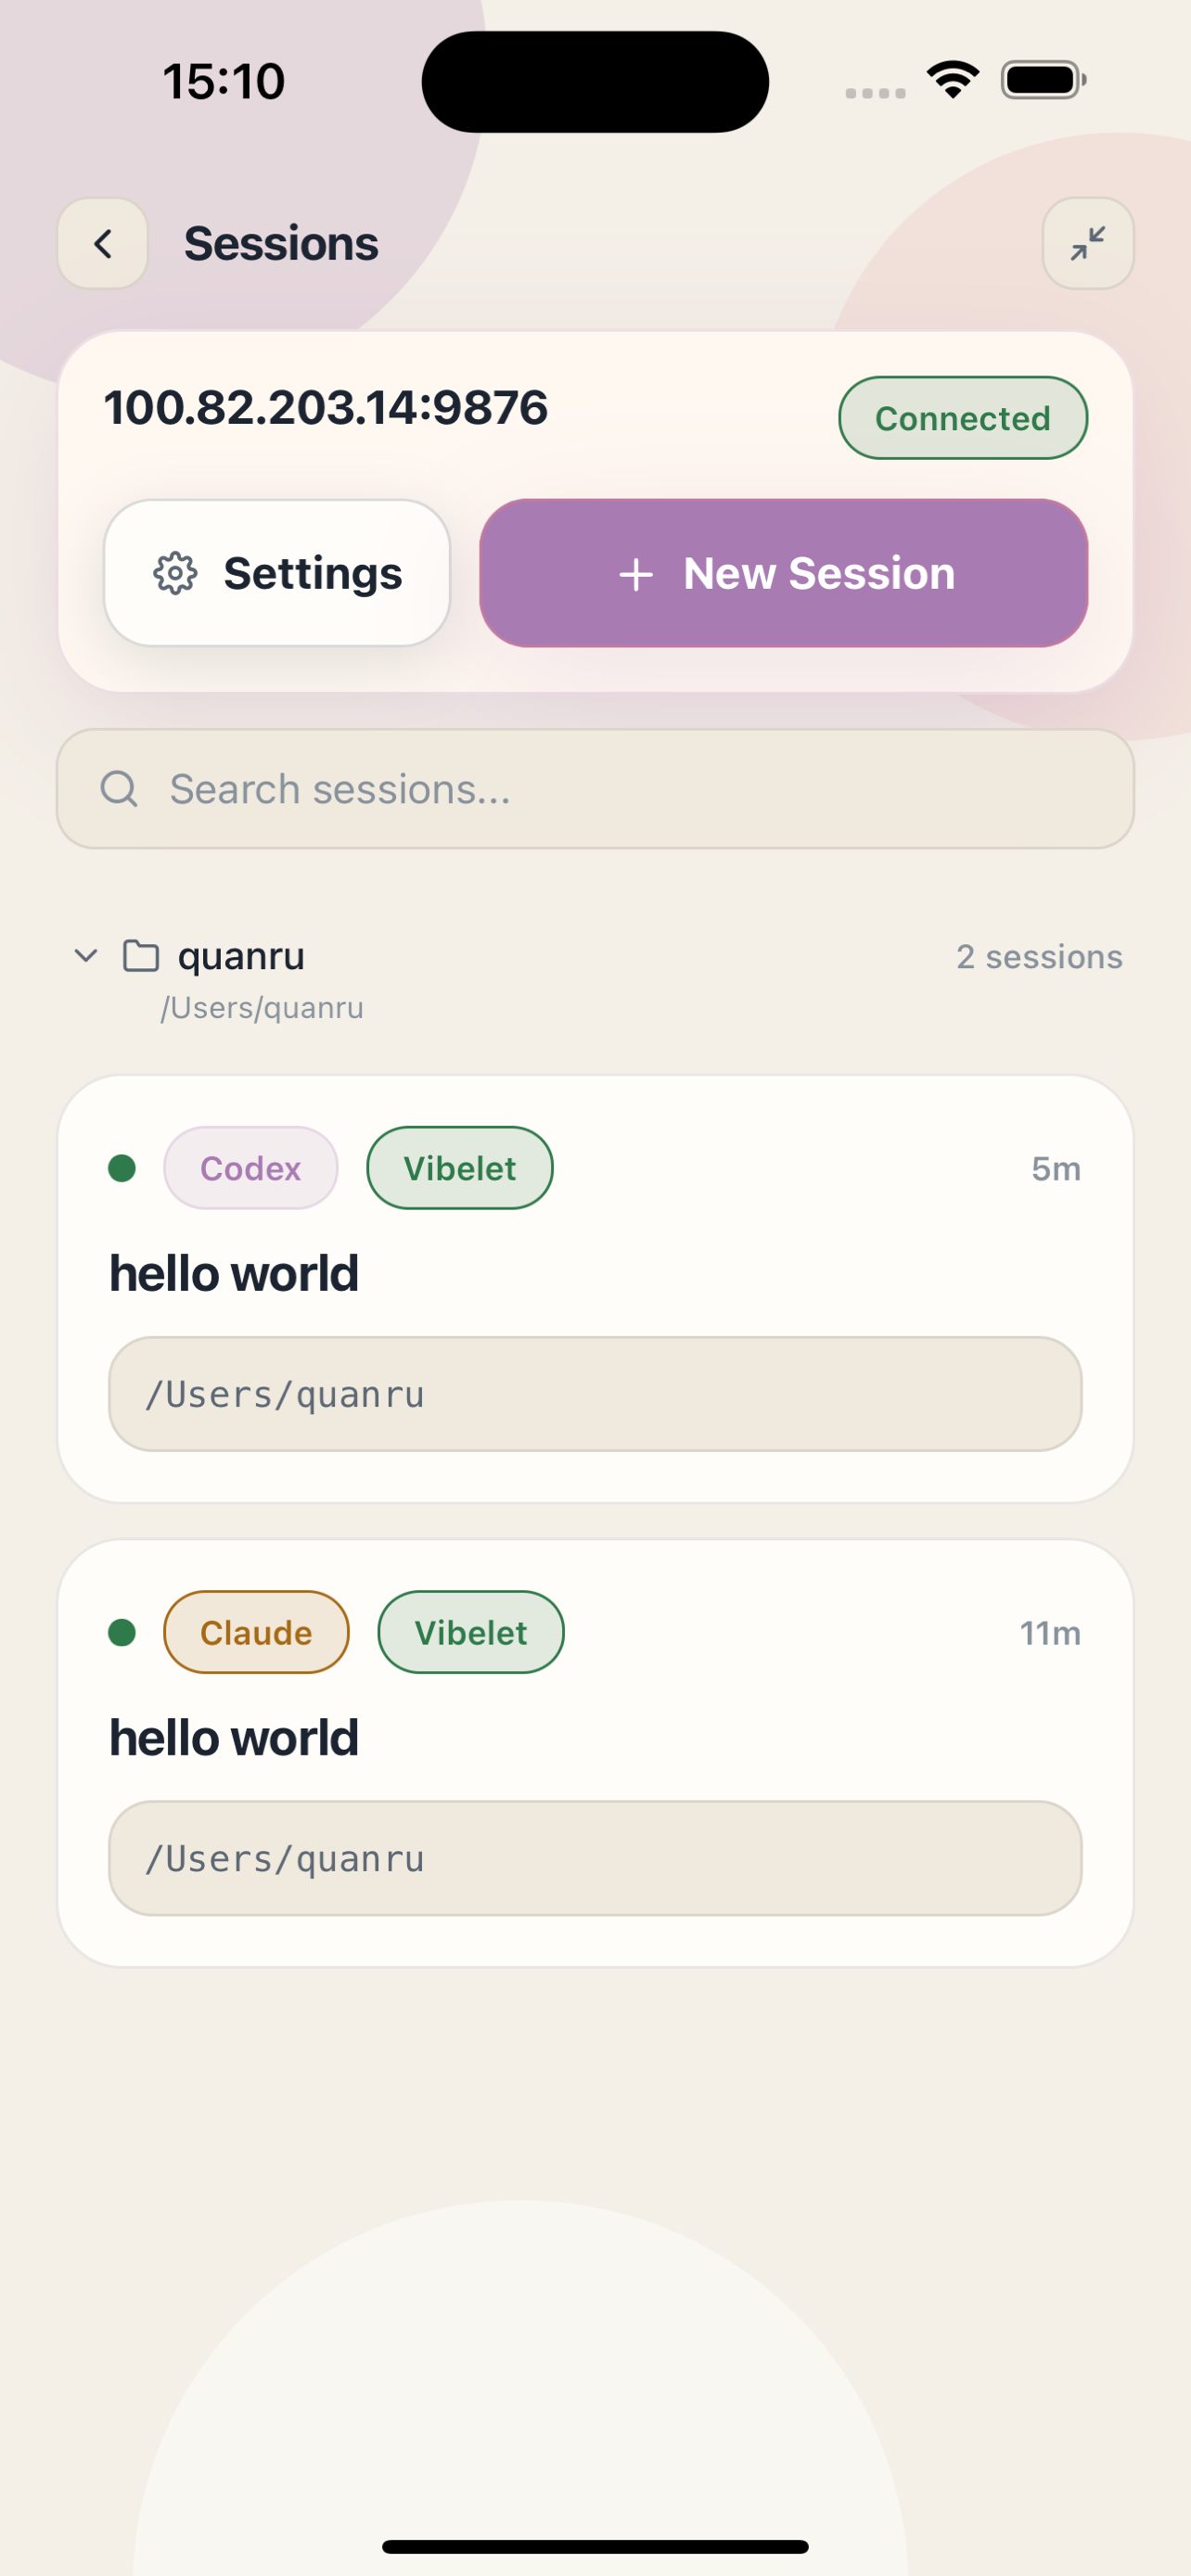
Resume the same session from your phone later, with its context still intact.
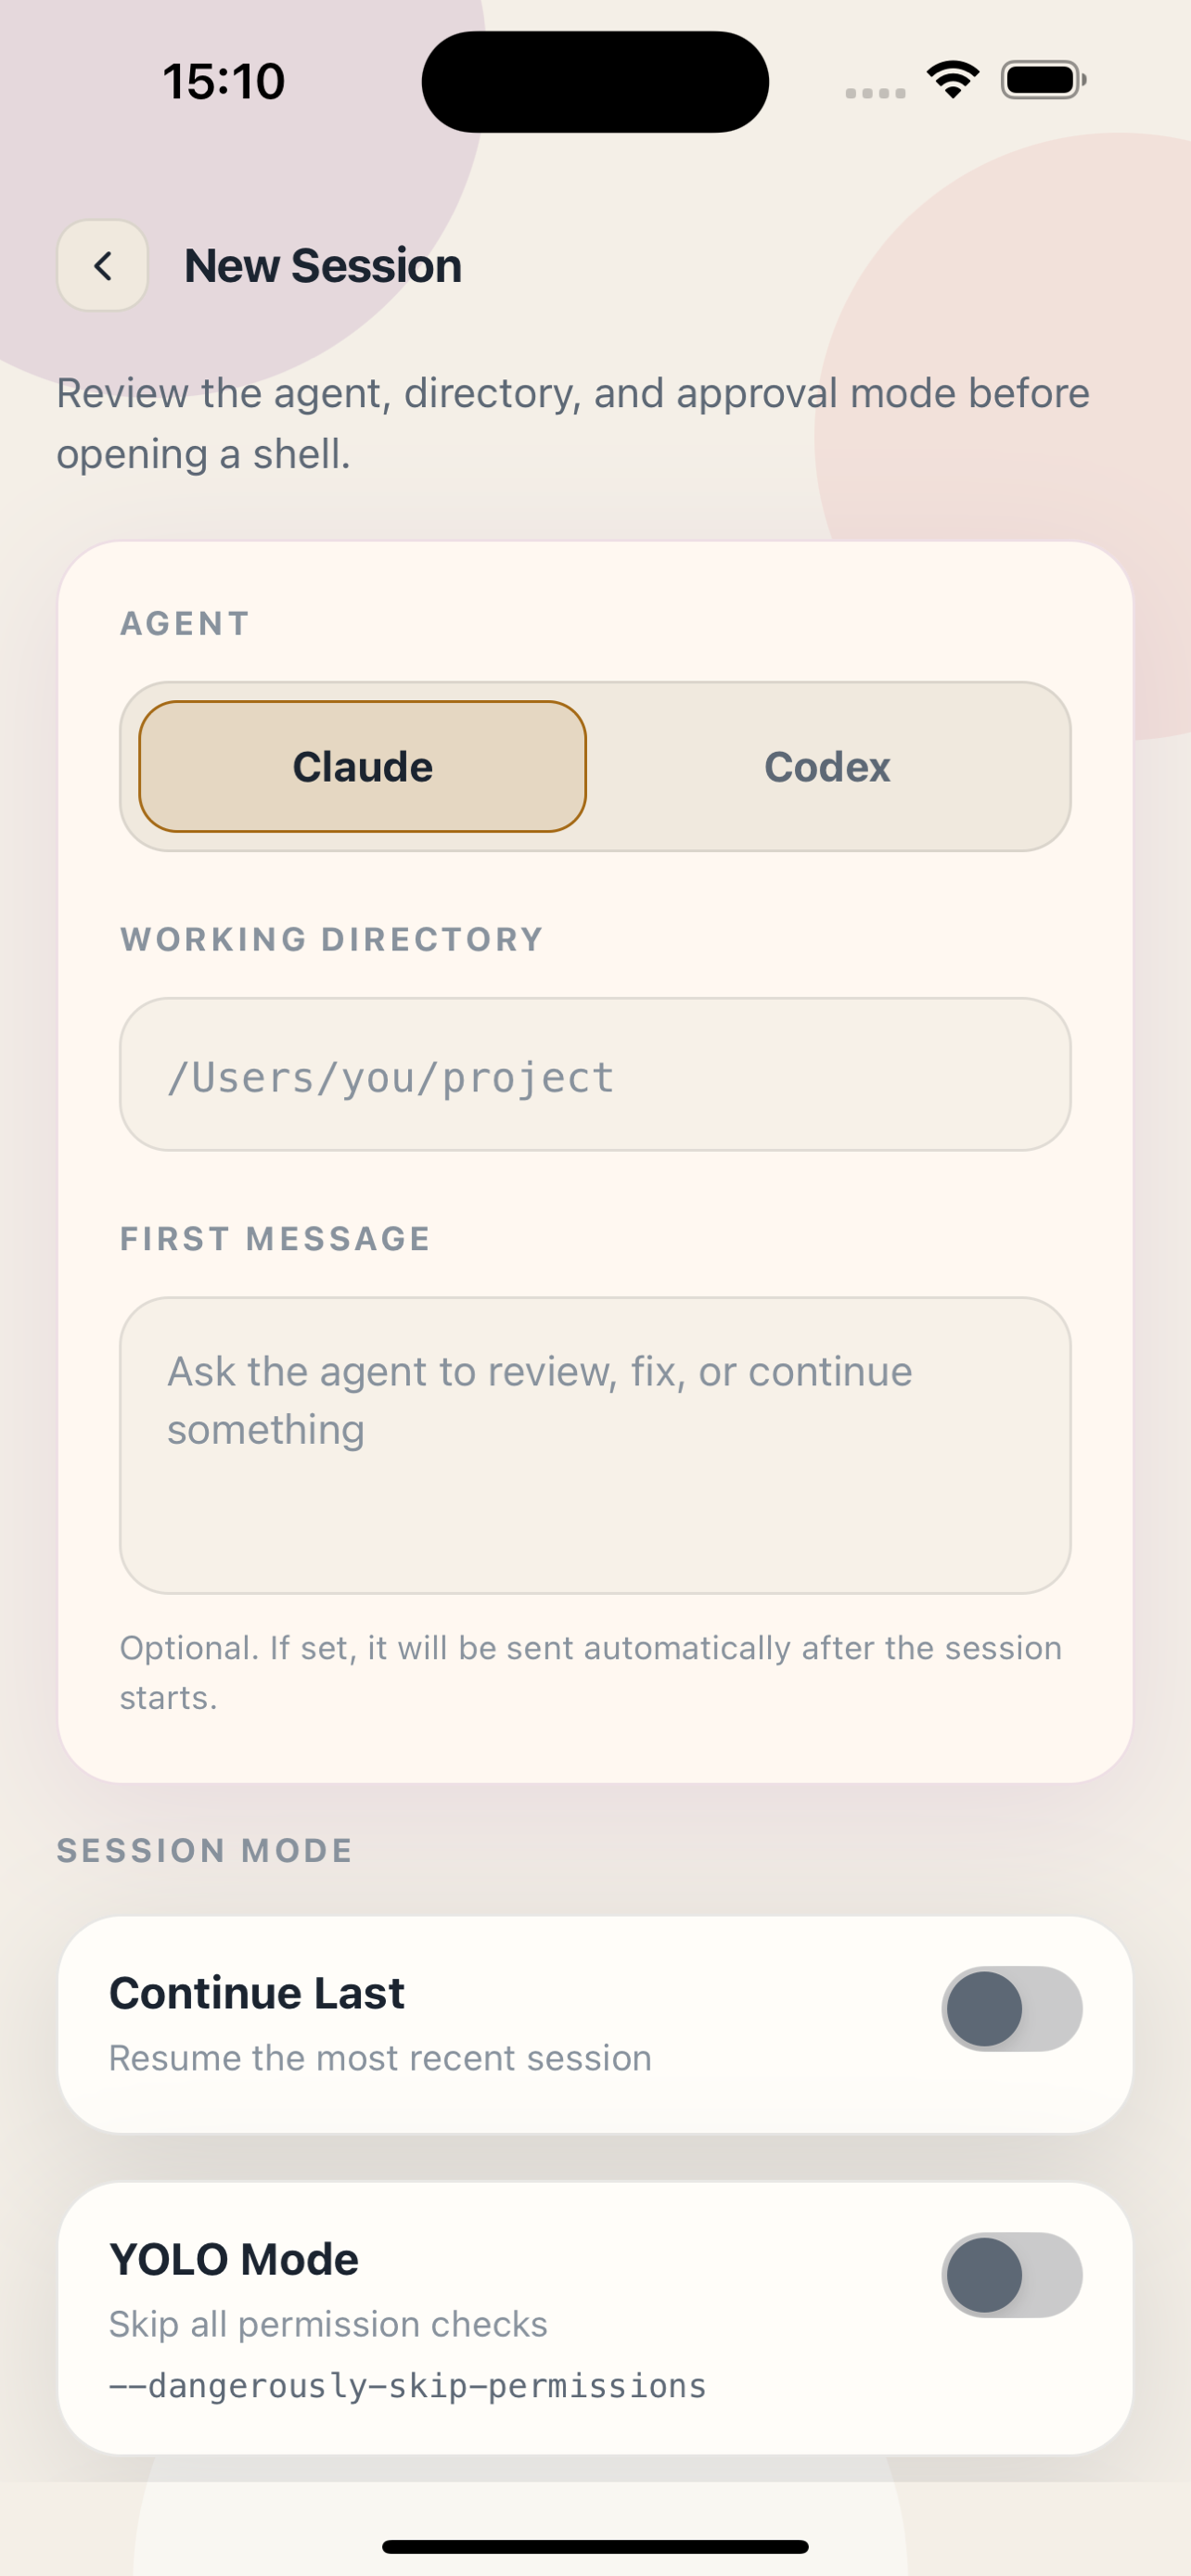
Review sensitive remote-session requests on your phone before they continue.
Data stays on your own machine. The mobile app does not download, install, or run executable code from sessions.
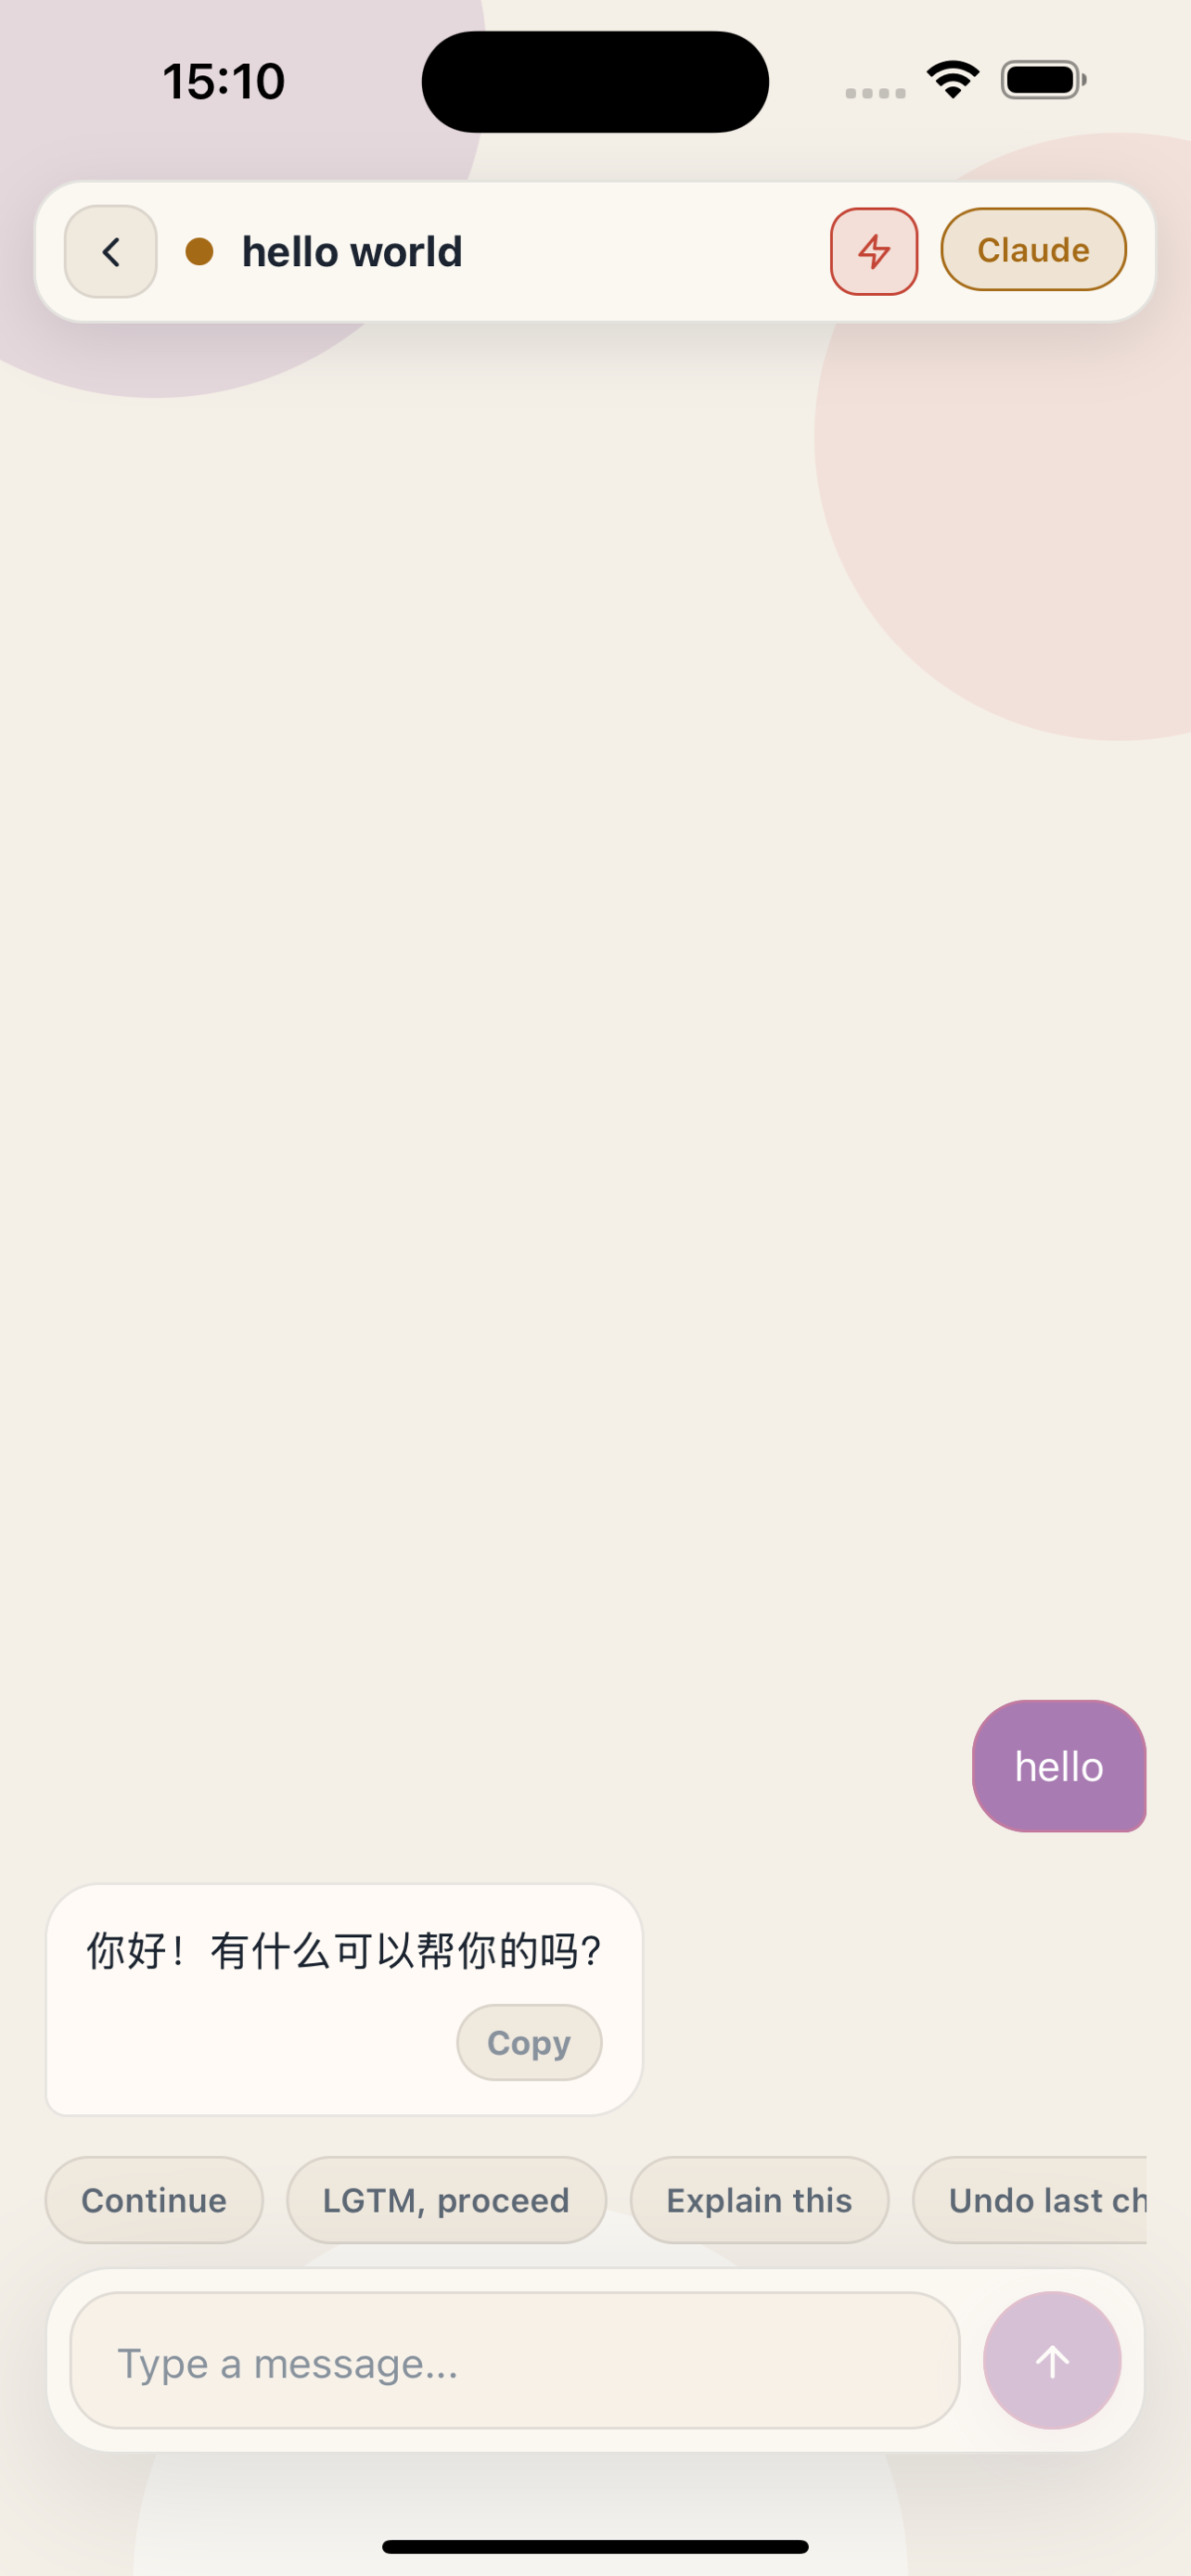
Connect to your paired computer, manage sessions, and chat with remote assistants from your phone.
Once the app is installed, keep the desktop connector running and pair with a QR code when you need to leave the computer.
Install the official App Store release for everyday phone control.
The normal iPhone install path for controlling paired sessions.
Open App Store
Download the official Android APK for everyday phone control.

Start the connector, scan once, and keep the session moving when you are away from the computer.
Run this before you leave the desk so the phone has something to pair with.
npx vibeletUse the default tunnel when you are away; choose LAN-only or your own network path when you want tighter control.
Free, no account needed. Vibelet starts a Cloudflare Tunnel automatically and prints a QR code that works remotely.
npx vibeletUse --access=local to skip the default tunnel for this run. Pass --access=remote --force to get a fresh URL.
Already running cloudflared, ngrok, or another tunnel? Pass its public URL directly.
# Cloudflare (manual)
npx cloudflared tunnel --protocol http2 --url http://localhost:9876

# ngrok
ngrok http 9876

# Then tell Vibelet to use it:
npx vibelet --access=https://<your-tunnel-url>
The relay URL is persisted in ~/.vibelet/relay.json and reused on restart.
Just tell Vibelet your device's Tailscale IP. Your phone must also be on the same Tailscale network.
npx vibelet --access=<tailscale-ip>Install the Tailscale app on your phone and join the same tailnet.
Short answers for the pairing and relay edge cases that come up most often.
When Cloudflare Tunnel or Argo Tunnel is in the path, some rule-based proxy apps need *.argotunnel.com treated as a real IP target and excluded from the proxy chain.
In Loon-style configs, that usually means putting *.argotunnel.com in real-ip and skip-proxy. The goal is simple: resolve the tunnel hostname normally and connect to it directly instead of bouncing that tunnel traffic through another proxy layer.
For example, in Loon you may need this in `[General]`: `real-ip = *.argotunnel.com` `skip-proxy = *.argotunnel.com`
If your current network cannot reach *.argotunnel.com directly, do not keep it in skip-proxy. Route it through a stable proxy policy instead, or use a custom relay / Tailscale path.
That error usually means the phone could not reach the host inside the QR payload at all, before Vibelet received any HTTP response.
Common causes are: the phone and computer are not on the same reachable network, the QR points to a LAN or .local address that the phone cannot resolve, Local Network permission was denied on iPhone, or a proxy app intercepted the tunnel / relay domain incorrectly.
If you are using a remote tunnel, make sure the relay hostname itself is reachable. If you are using LAN-only pairing, try the computer LAN IP directly or rerun Vibelet with the right --access host list.
The pairing QR is intentionally short-lived and one-time-use. That keeps the pairing flow simple without leaving a reusable open window behind.
If it expires, just run `npx vibelet` again on your computer and scan the fresh QR code. If this phone was already paired before, reconnecting from the saved device entry may still work.
Use `npx vibelet --access=local` when your phone and computer are already on the same LAN and you do not want Vibelet to use the default remote tunnel for that run.
Use plain `npx vibelet` when you want the QR code to be remote-ready by default. That is the better default when you are not sure whether the phone will stay on the same local network.
A custom relay means you already have a public tunnel URL, such as Cloudflare Tunnel or ngrok, and pass it to Vibelet with `--access=https://...`.
Tailscale is different: there is no public relay URL in Vibelet. Instead, you tell Vibelet the machine Tailscale IP with `--access=<tailscale-ip>`, and your phone must also be logged into the same tailnet.
The official Tailscale GUI (the macsys build) uses macOS NetworkExtension and grabs the default route. Loon / Surge are also NetworkExtension-based, so the two fight over routing — once Tailscale is on, the proxy tool's TUN effectively stops and outbound traffic-shaping breaks.
Fix: switch to the open-source standalone `tailscaled`, which uses a plain `utun` interface instead of NetworkExtension and coexists with Loon cleanly.
Steps: quit `Tailscale.app`, drag it to Trash from Finder (this triggers the system-extension uninstall prompt — `rm` does not), then run: `brew install tailscale` `sudo tailscaled install-system-daemon` `sudo tailscale up --advertise-exit-node`
On the Loon / Surge side, keep Tailscale traffic out of the proxy by adding `100.64.0.0/10` to `skip-proxy` and `bypass-tun`, plus direct rules for `*.ts.net` and `IP-CIDR,100.64.0.0/10,DIRECT,no-resolve` near the top of the rule list.
On iOS, Tailscale and Loon are mutually exclusive (system-level NE limit, only one tunnel at a time). The usual workaround is to run the Mac as a Tailscale exit node and have the phone select it — outbound traffic from the phone then flows through the Mac's Loon.